You’ve probably heard about Linux and are curious about it. Though I’m a lifelong Windows user, I can see why others would want to learn Linux.
Linux is much less vulnerable to viruses than Windows or Mac OS, yet no operating system is entirely secure. The only exception is a mechanical cash register, which scarcely counts as a computer.
Linux’s primary benefit is that it is open source and free, allowing for frequent and free updates. With little TLC and effort, you can run Windows software. There is a wealth of fantastic software available for the platform.
With the help of a virtual computer and the great and free VMWare Player, I’ll show you how to set up Linux Mint.
1) Get VMWare Player and set it up on your computer.
To begin, head over to VMWare.com and look in the Free Products for VMWare player area of the Products section.
Launch the installation when the download of VMWare Player for Windows is complete. The installation process is simple, and default settings are probably fine.
2) Get Linux Mint.
To access Linux Mint, go to linuxmint.com. To learn more about each available release, check out the Downloads page.
The 32-bit Cinnamon distribution of Mint will serve our needs.
Pick a mirror that works in your part of the world.
A.iso format is used for the download. This file is a disk image, which functions similarly to a digital DVD copy. ISO is an acronym for “International Organization for Standards,” where the name “.iso” comes from. Put this document somewhere convenient so you won’t forget where you put it.
Third, set up a virtual machine running Linux Mint.
Select the “Create a New Virtual Machine” option in VMWare Player.
Select an installation ISO to begin installing Linux Mint. VMWare may issue a warning if it is unsure which operating system you intend to install, but you can safely disregard this message. We’ll be making the OS requirements. The next step is to click Next.
Choose Linux as the Guest OS and keep Ubuntu as the Version (or change it if necessary). The next step is to click Next.
Create a unique name for your virtual machine. Pick a folder to store your virtual machine in. The next step is to click Next.
Adjust your system’s storage preferences. To play around and install some programs, 8 GB should be fine given that this is a test system and we don’t need to consume a lot of space. Since I don’t plan on relocating the virtual drive very often, I find it more convenient to keep it as a single giant file. The next step is to click Next.
If everything seems good, click the Finish button. You have finished configuring the fundamentals.
Step Four: Setup Linux Mint
Warning: *Before installing Linux Mint, press the Control and Alt keys simultaneously if you lose control of your mouse or if it becomes “stuck” at any point. The VMWare Player allows for this kind of functionality.
The green Play Buttons can be used to start the Virtual Machine.
Select the “Remind Me Later” option if prompted to install VMWare Tools.
Let the automatic loading process finish. After a brief greeting, Linux Mint will launch straight to the desktop. Because of its Live OS nature, Mint may be thrown straight from a disc or ISO file.
You can still use and experiment with Linux Mint in this mode, but the experience will be slower than a clean install. On the digital desktop, double-click the Linux Mint icon labeled Install.
A language selection window will appear during the installation process. I’m going to go ahead and assume that you’re speaking English. Choose to proceed by clicking Continue.
Assuming your PC is connected to the internet, and you have configured an 8.0 GB virtual hard disk, the following screen will feature two checkboxes. Choose to proceed by clicking Continue.
To install Linux Mint, choose the Erase Disk option and deselect all other choices. You won’t accidentally delete any files on your PC because you’re operating on a virtual hard disk that’s entirely separated from the rest of your computer. Select the “Install” button.
In most cases, the OS will automatically determine your location. If not, you can manually set the time zone by entering your city name. Choose to proceed by clicking Continue.
Lay out your keys on the keyboard. Please proceed by clicking the following button.
Initialize your virtual machine (VM), username, and password. Since I won’t be using this computer for anything serious, I’ve disabled the automatic login feature and set the password to password1. So that I don’t have to enter my password every time, I have it set to log me in automatically. After entering your login information, select the next option.
As the Mint installation process nears completion, you’ll see directional buttons on the screen’s edge. You can use these to get a taste of the Linux Mint operating system offers. Please wait while the installer finishes up. If you’ve finished the tour, you can stop for a soda. While waiting, you can take a break from the virtual machine and play solitaire on the host computer.
When Mint is finished installing, you’ll be given the option to either restart and launch into the standard install of Mint or to continue testing (operate with the live desktop). Just hit the Restart button.
When prompted by Mint, press the enter key after removing the installation disc and closing the tray. Dismounting the image is necessary because we are not using a DVD as our source material. To free your mouse, press the Alt key on your keyboard simultaneously with the Control key.
To change the settings for playing CDs and DVDs in VMWare Player, click the Player button in the top left of the window, then choose Removable Devices, then CD/DVD.
If your CD/DVD drive has a Connect as power on the checkbox, deselect it. Choose the OK option. Press the return key on your keyboard to return to the black Mint Logo screen. We are presently waiting for Mint to restart.
The computer will restart, and when you log in, you’ll get the Welcome to Linux Mint display. You have the option of having this pop up during startup. Select the window’s Close button and click it.
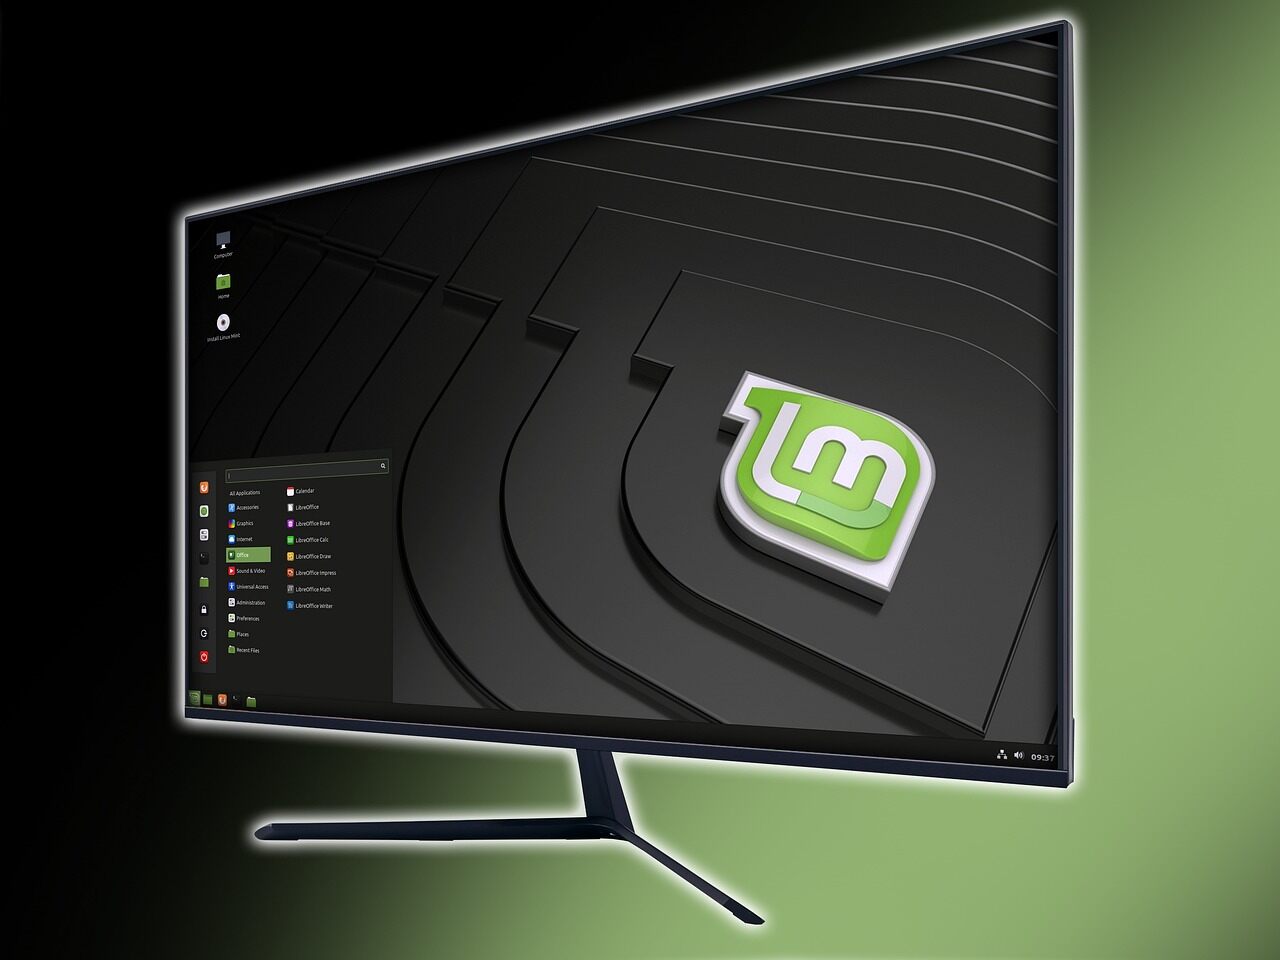
Invoking Linux Mint 5
Mint is a Windows alternative that is known for its ease of use. The bottom-left Menu button has the same functionality as Windows’ Start button. When opened, it displays a list of programs categorized by function. Check out the link and see what you can discover. The vast majority of them need little explanation.
Linux differs from Windows in that it relies not on an executable system for adding new software but on package management. Okay, so let’s set up Skype on Mint.
Get to the Software Manager using the menu. Enter your password when prompted. The program for managing software will start up.
Try typing “Skype” into the search bar on the top right of the page. Skype. And hit the enter button.
Skype’s package is available for installation in Mint. To open the details window, double-click it.
Select the setup button. Once Skype’s installation is complete, a message reading “installed” will appear on the screen. Put an end to Software Manager’s use.
If you open the Menu and navigate to the Internet subheading, you’ll see that Skype is already preinstalled.
Start learning Linux Mint and its features from here. This is just the beginning of the wealth of information available about usability on the Internet.
Read also: The Most Recent iPhone Spy Software